
Introduction:
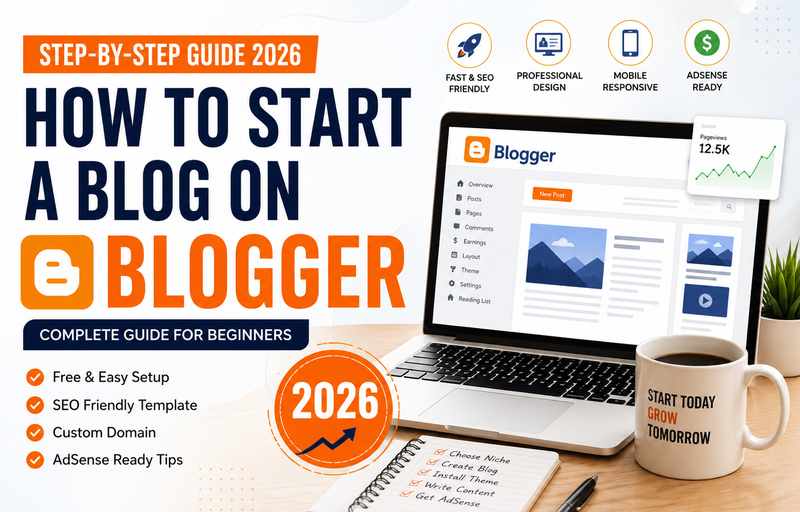
You don’t need to pay anything when launching a blog in 2026. Google’s Blogger platform remains one of the best, for beginners, free platforms, no hosting charges, no hosting account, no server management and no complicated setup. It takes only a few minutes to switch from none to live blog.
But for most of the guides out there on the web, it’s geared towards WordPress. Blogger users have been provided with old tips that don’t work with today’s way of working Blogger.
I’m Nik from niktheblogger.com and in this guide I’m going to show you how to start a blog on Blogger in 2026, step by step in simple terms.
Blogging is still a good idea in 2026 for several reasons.
Blogger is sensible when you’re looking to:
- Begin to blog on a zero-spending plan
- No need of server management — Google takes care of it all
- Run a test for a niche concept prior to spending money
- Work towards earning a Google AdSense income.
The only drawback of Blogger is that it has some outdated, slow and non-SEO friendly default themes. This isn’t too difficult to fix though, which we will do in Step 3.
Step 1: The first thing you need to do is select your niche
The niche will be the subject which your blog will be about. This is the foremost decision you have to make prior to everything else.
The perfect niche for beginners in 2026 is made up of three elements:
- It is of interest to you or you already know about it
- People are actively looking for it on Google: Identify key terms and phrases that people are searching for on Google.
- It has the earning potential in the form of AdSense or affiliate links
There are some niches out there that are easy to start and have a great performance: tech how to guides, personal finance tips, food and recipes, product reviews, health and wellness and local travel content.
A well-optimized website needs more than just good design. Following some essential SEO tips can also improve its visibility.
Step 2: To create your blogger Account, follow the steps below
If you already have a Gmail account, then you’re all set.
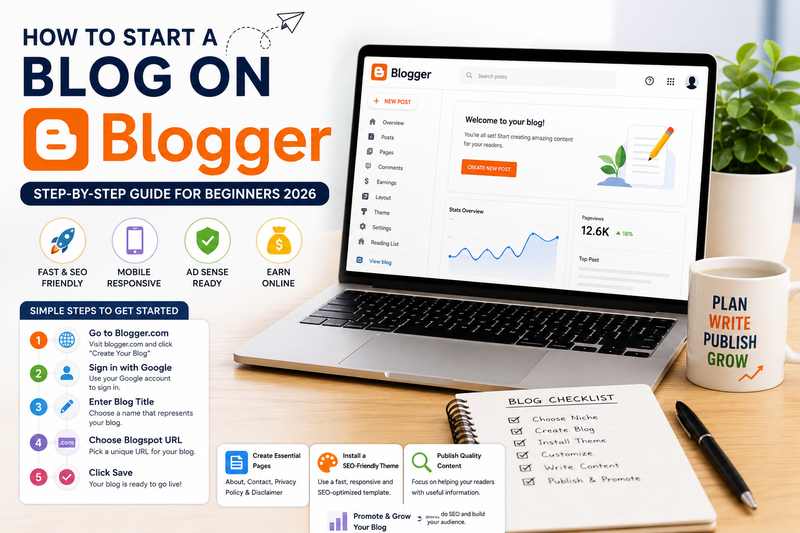
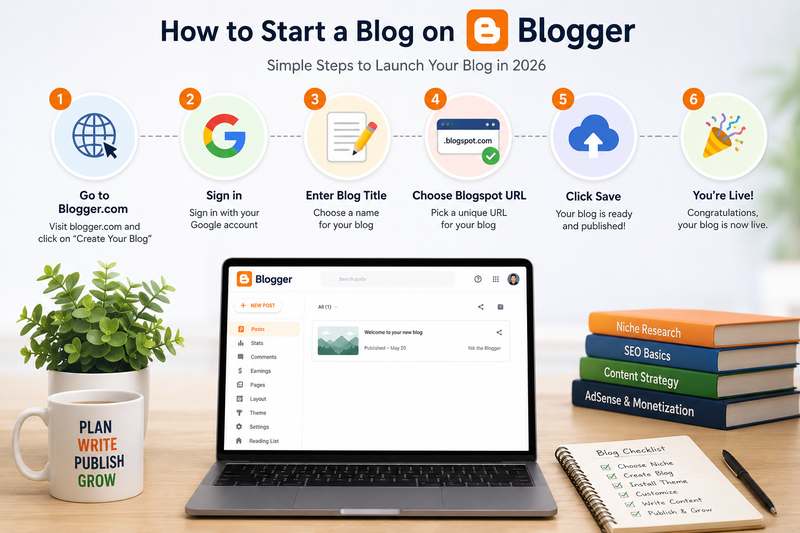
- Go to blogger.com
- Click Create Your Blog
- Sign in with your Google account
- Enter your Blog Title
- Choose your Blogspot URL
- Click Save Your blog has just been published.
- That really is it, it’s just that to get started.
It’s time to ask yourself: is it worth having a custom domain? Yes — and the sooner the better! Yourblogname.com would look more professional, and is highly recommended before applying to AdSense. You can register a custom domain for your Blogger under Settings → Publishing → Custom Domain.
Step 3: Set up a Quick and SEO-friendly template
This is what the majority of novice players neglect to do — and it’s the one thing that is keeping them back.
The default themes provided by Blogger are not optimized for speed, SEO and ad placement. It is very important to have a great first impression for your blog and it is best to install the right high-quality template prior to writing any post.
Wire Templates is among the greatest places to get high-quality Blogger themes, which really are created with the goal of performance and cash-making. All of their templates have been coded with HTML5, have inbuilt SEO markup, native feed systems that load quickly and have short code-based ad placement without any coding.
Their bestselling template SEO Next features an integrated Table of Contents, dark mode, pre-installed ad short codes, lifetime updates and a one-time price of $10.50 to use Content Pagination to help increase the number of pageviews. If you wish to try out, there’s a free version.
All the templates are available to browse at the Wire Templates store and there are live demonstrations available so you can make your decision before you buy.
How to install:
- Download .xml file from Wire Templates
- From Blogger dashboard, click on Blogger dashboard → Theme → Restore
- Upload the file – your new theme is in place from then on.
Step 4: Now it’s time to make Your Essential Pages
Before publishing your blog posts, make sure these four pages are live. Google and AdSense reviewers both look for them:
- About — Who you are and what your blog is about
- Contact — An email address or contact form
- Privacy Policy — For use with AdSense; states what cookies and ads are used for and how they are used
- Disclaimer — Provides disclaimer that content is informational and may provide affiliate links
To create each page, in Blogger, click on Pages → New Page.
Step 5: Post and publish your first posts
You have now got some time to start writing. Don’t go to any random publishing, plan a simple structure of content.
Use pillar posts, or in-depth and useful articles on main topics of your niche. Then create supporting posts that go in-depth on particular sub-topics and connect back to your pillars. This is an inwards linking system that assists Google to understand how profound your blog is and hence to raise the rankings of all your posts.
When posting make sure you:
- Use target word in title and first paragraph of article (naturally)
- Use H2 – H3 headings to divide content into smaller sections and make them clear to read
- Write a custom meta description in the post setting (140 – 160 characters).
- Permalinks should be descriptive and short, and contain keywords.
- Insert at least one photo or graphic with text description of visual content.
- Connect with other pertinent posts on your blog
- Try to write posts to be at least 800-1200 words. In 2026, it is hardly possible to rank with short and thin content.
Step 6: Add to Google Search Console
When you have 3-5 posts published go ahead and add your blog to Google Search Console. This lets Google know that your site is in existence and also aids it in getting faster indexed.
- Go to search.google.com/search-console
- Add your blog as a property and paste your blog URL.
- Upload your sitemap (for blogger it will be: yourblog.blogspot.com/sitemap.xml)
After each of your posts, ask them to be indexed.
This is something that a lot of beginners don’t take until after months. Do it from day one.
Step 7: Get Google AdSense
Once you have your blog set-up, apply for AdSense. Generally, a blog will be in a good position to apply when it has:
- 10 or more original, well-written posts (with a positive rating)
- All-important pages are active (About, Contact, Privacy Policy and Disclaimer)
- A clear and quick template, that is mobile friendly
- Custom domain is connected
- 3-4 weeks history of published work
You simply need to visit adsense.google.com, enter your blog URL and then sign-up. The typical time frame for Google to review applications is a few days to two weeks.
Here’s something you should know: your template is directly related to the Google review of your blog when applying for AdSense. A slow theme or one which is not well coded negates you and gives a poor user experience. A fast, responsive template like those from Wire Templates can improve your blog’s user experience — which is a factor Google considers during AdSense review.
So, if you want to know more about the real reason why a template is AdSense ready or not, before you apply then I have discussed all about it at niktheblogger.com, and more than just content quality is what Google is looking for.
Common Mistakes to Avoid:
- The default Blogger theme: Rethink it prior to publishing anything. It is slow, with no SEO structure.
- Avoid thin content: focus on useful, original content that fully answers the reader’s question.
- Don’t have meta descriptions: Populate the Search Description field for each and every post. It has an impact on your content’s visibility in search results on Google.
- Applying too early: Make sure your site has useful original content, important pages and a good user experience before applying. Always put in the base first.
- Not linking internally: Link to your own posts from inside of your content. It assists Google in comprehending your site and also in distributing your rank worth amongst your web pages.
FAQ:
Will Blogger be relevant in 2026?
Yes — particularly if you have a no budget situation. it’s free, dependable and can be a good way to build an audience and potentially earn through AdSense. It’s all about keeping up the quality content and utilizing a professional template.
So, when is the right time to apply for AdSense if I have only x number of posts?
There is no set minimum, but 10-15 original, good quality posts is a good guideline. Your necessary pages should likewise be on-line, and you should have a clean and fast template.
Does Free Blogger template get AdSense Approved?
Yes. An approval process can be done with a free template provided that it is responsive, fast and clean. Wire Templates provides full-fledged free versions of their high dollar templates, not demos that have their functionality cut down — and to Google’s baseline requirements.
So, when will I see visitors to a new blog?
Practically speaking, 3-6 months of regular publishing until you start to see any organic traffic. It’s not overnight that new domains can get Google’s attention. Don’t forget to target long tail keywords, submit your sitemap and publish regularly, compounding over time.
Conclusion:
You can truly start a blog on Blogger in 2026 – even if you have no technical expertise and don’t have any initial funds to invest. It’s free, backed by Google and is a totally legit means of building up an audience and making money via AdSense.
There are three key points that distinguish blogs that take off from blogs that languish:
- A professionally-made and quickly loading template from day one.
- Content that is consistent, original and helpful to your readers
- SEO fundamental practices integrated in each and every post that you publish